You get one clean chance to place a dash cam before the adhesive sticks, the wire gets tucked, and the camera becomes part of your daily view. Put it too low and it may record more hood than road. Put it in the wrong upper spot and it can block your sightline, miss the wiper-swept area, or make cable routing harder than it needs to be.
GearNudge may earn a commission if you buy through links in this article. That does not change the placement advice: the safest setup is the one that records useful road footage without getting in your way.
Quick Answer
For most cars, start by testing the dash cam behind the rearview mirror, slightly toward the passenger side, within the area your wipers clean.
That spot usually gives you the best mix of:
- A balanced forward view
- Low driver distraction
- Cleaner cable routing toward the headliner and A-pillar
- Less chance of the camera sitting directly in your line of sight
Before sticking anything, sit in the driver’s seat and check the view. If you can see the camera body below the mirror, move it slightly. If the mirror housing or sensor pod blocks the lens, shift it a small amount to one side.
Use a different placement if your car or local rules make the normal upper-center location risky:
| Placement | Best fit | Main tradeoff |
|---|---|---|
| Behind the mirror | Most drivers who want clear front evidence and low distraction | Harder to reach the screen or buttons |
| Slightly off-center behind the mirror | Cars where the camera shows in the mirror reflection or sensor housing blocks center placement | Too much offset can unbalance the recorded view |
| Lower windshield corner | Drivers in stricter windshield-obstruction states | Lower angle may reduce distant plate, signal, and road-context visibility |
| Dashboard mount | Rental or leased cars, or drivers avoiding windshield adhesive | More glare, more hood in frame, and airbag placement risk |
| Mirror-style dash cam | Drivers who want a larger screen and cleaner mirror-area placement | Check mirror compatibility, weight, vibration, and rear-camera cable path |
Quick examples by placement style
shows the main form-factor choices before the deeper placement comparison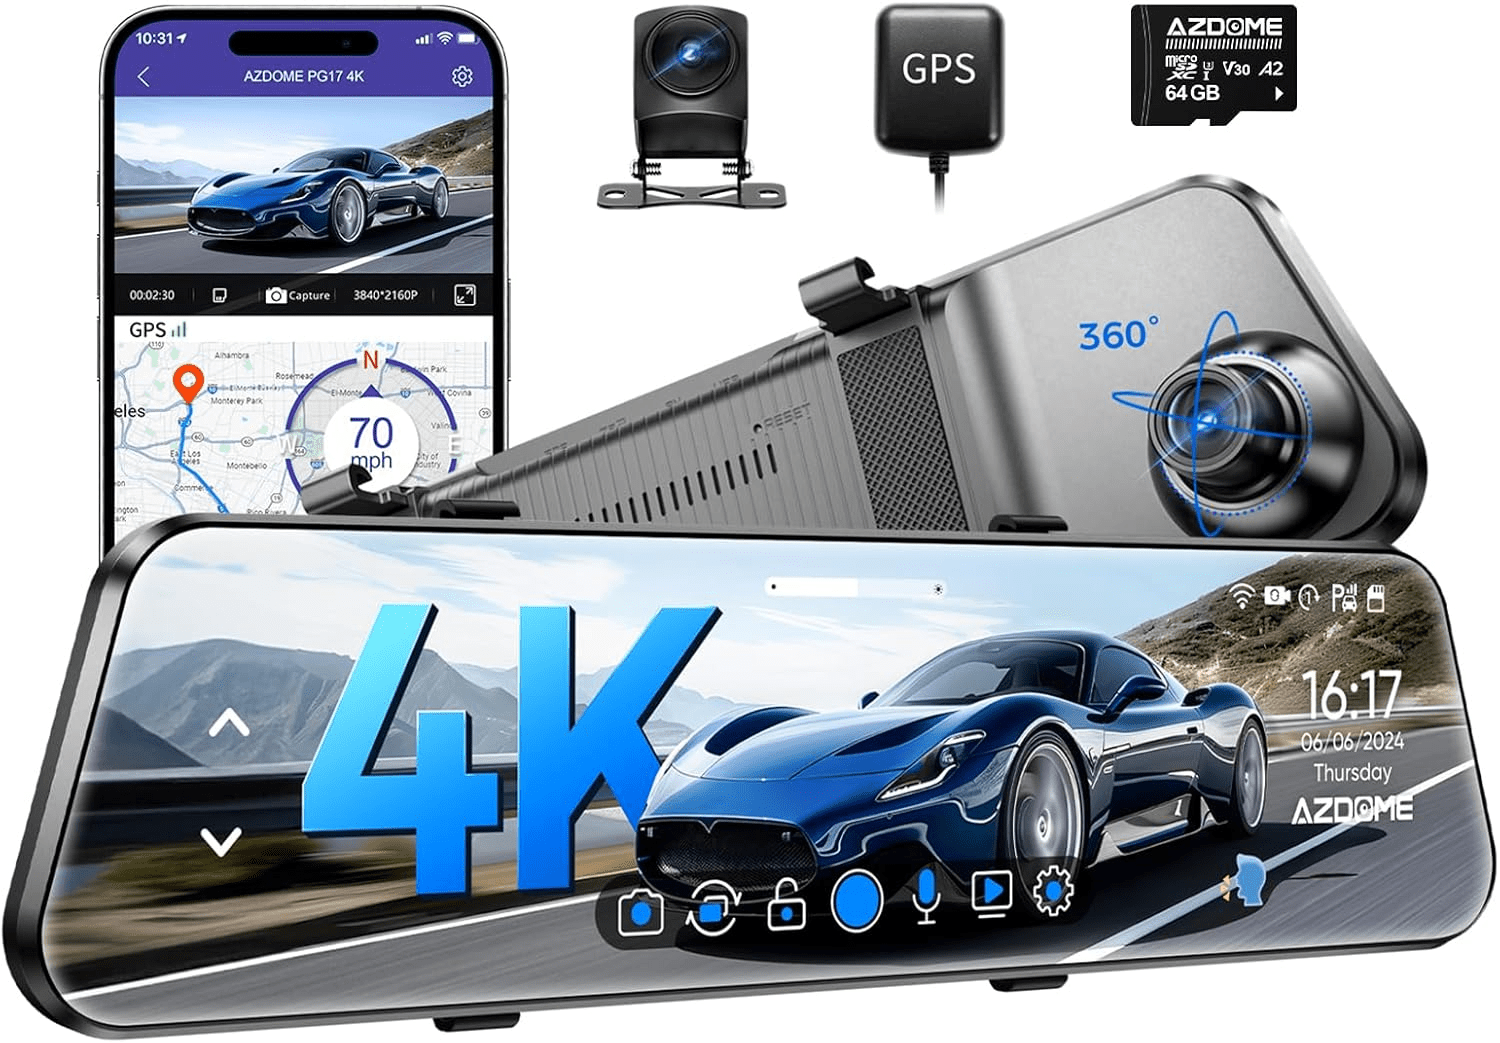
Mirror-style screen
drivers comparing mirror-area setups
Avoid if: your factory mirror mount already sags or vibrates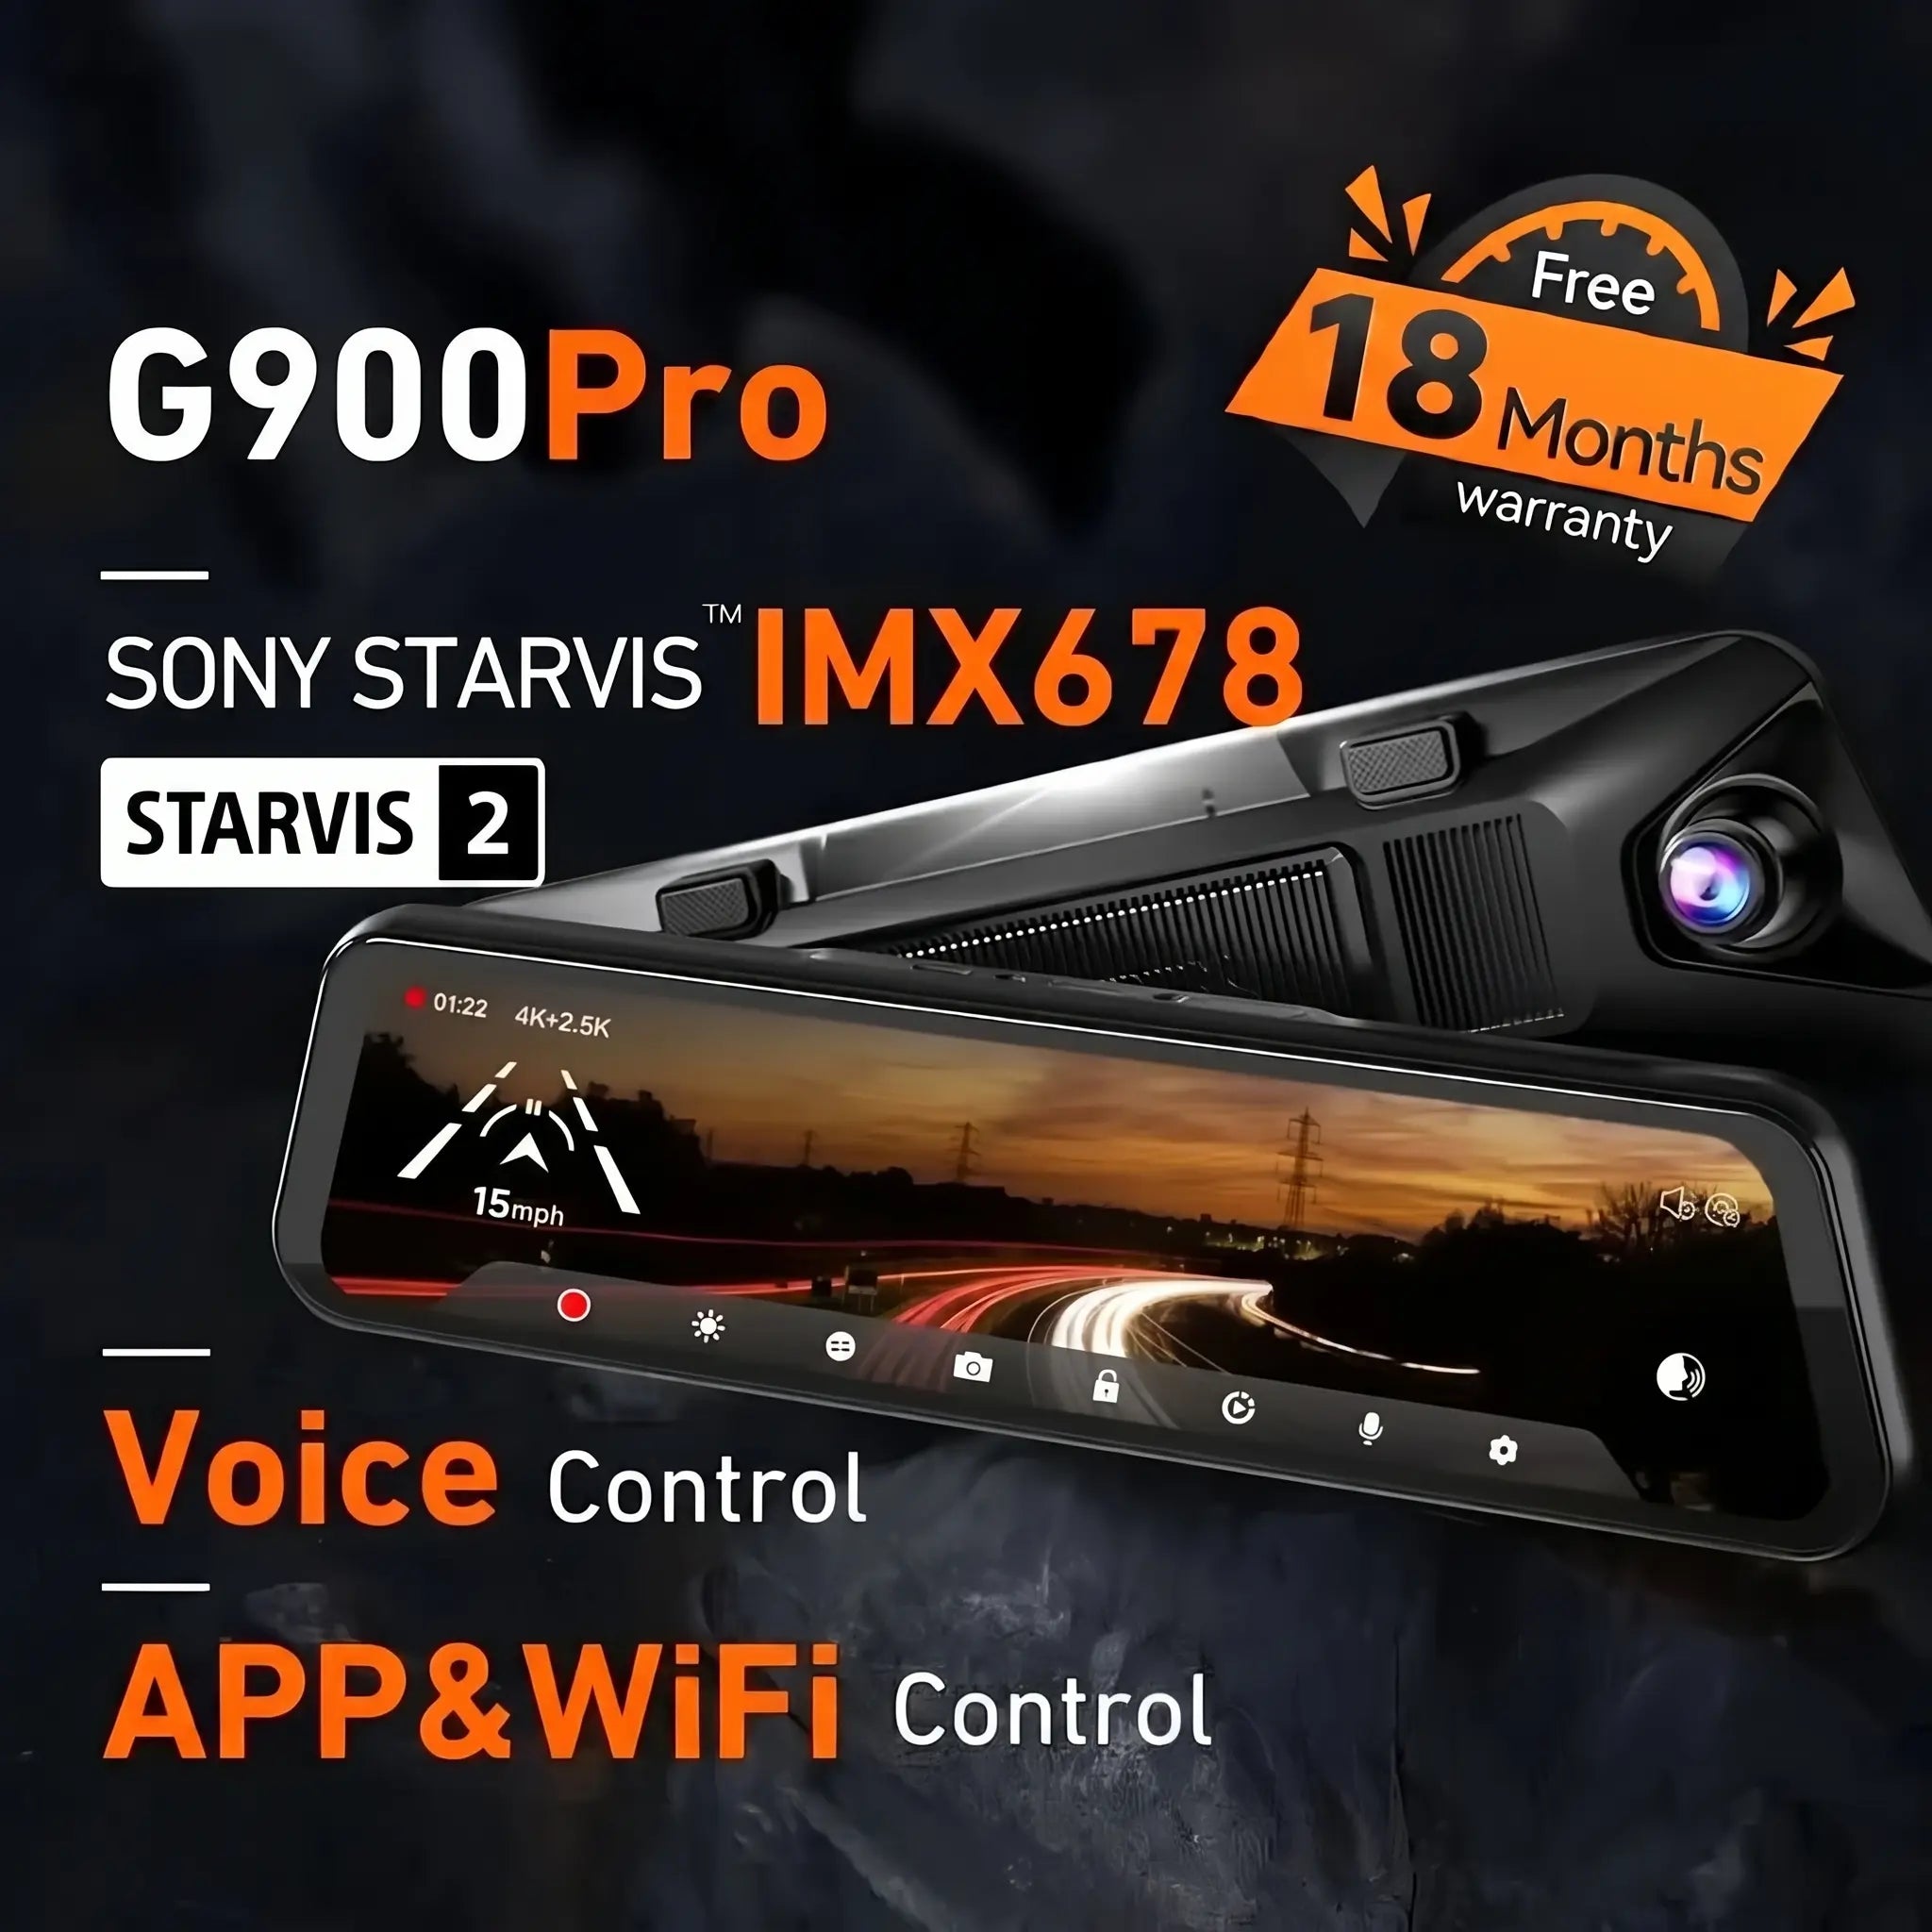
Mirror-style alternative
drivers who want a rearview-mirror-style display
Avoid if: you have not checked mirror fit and rear cable routing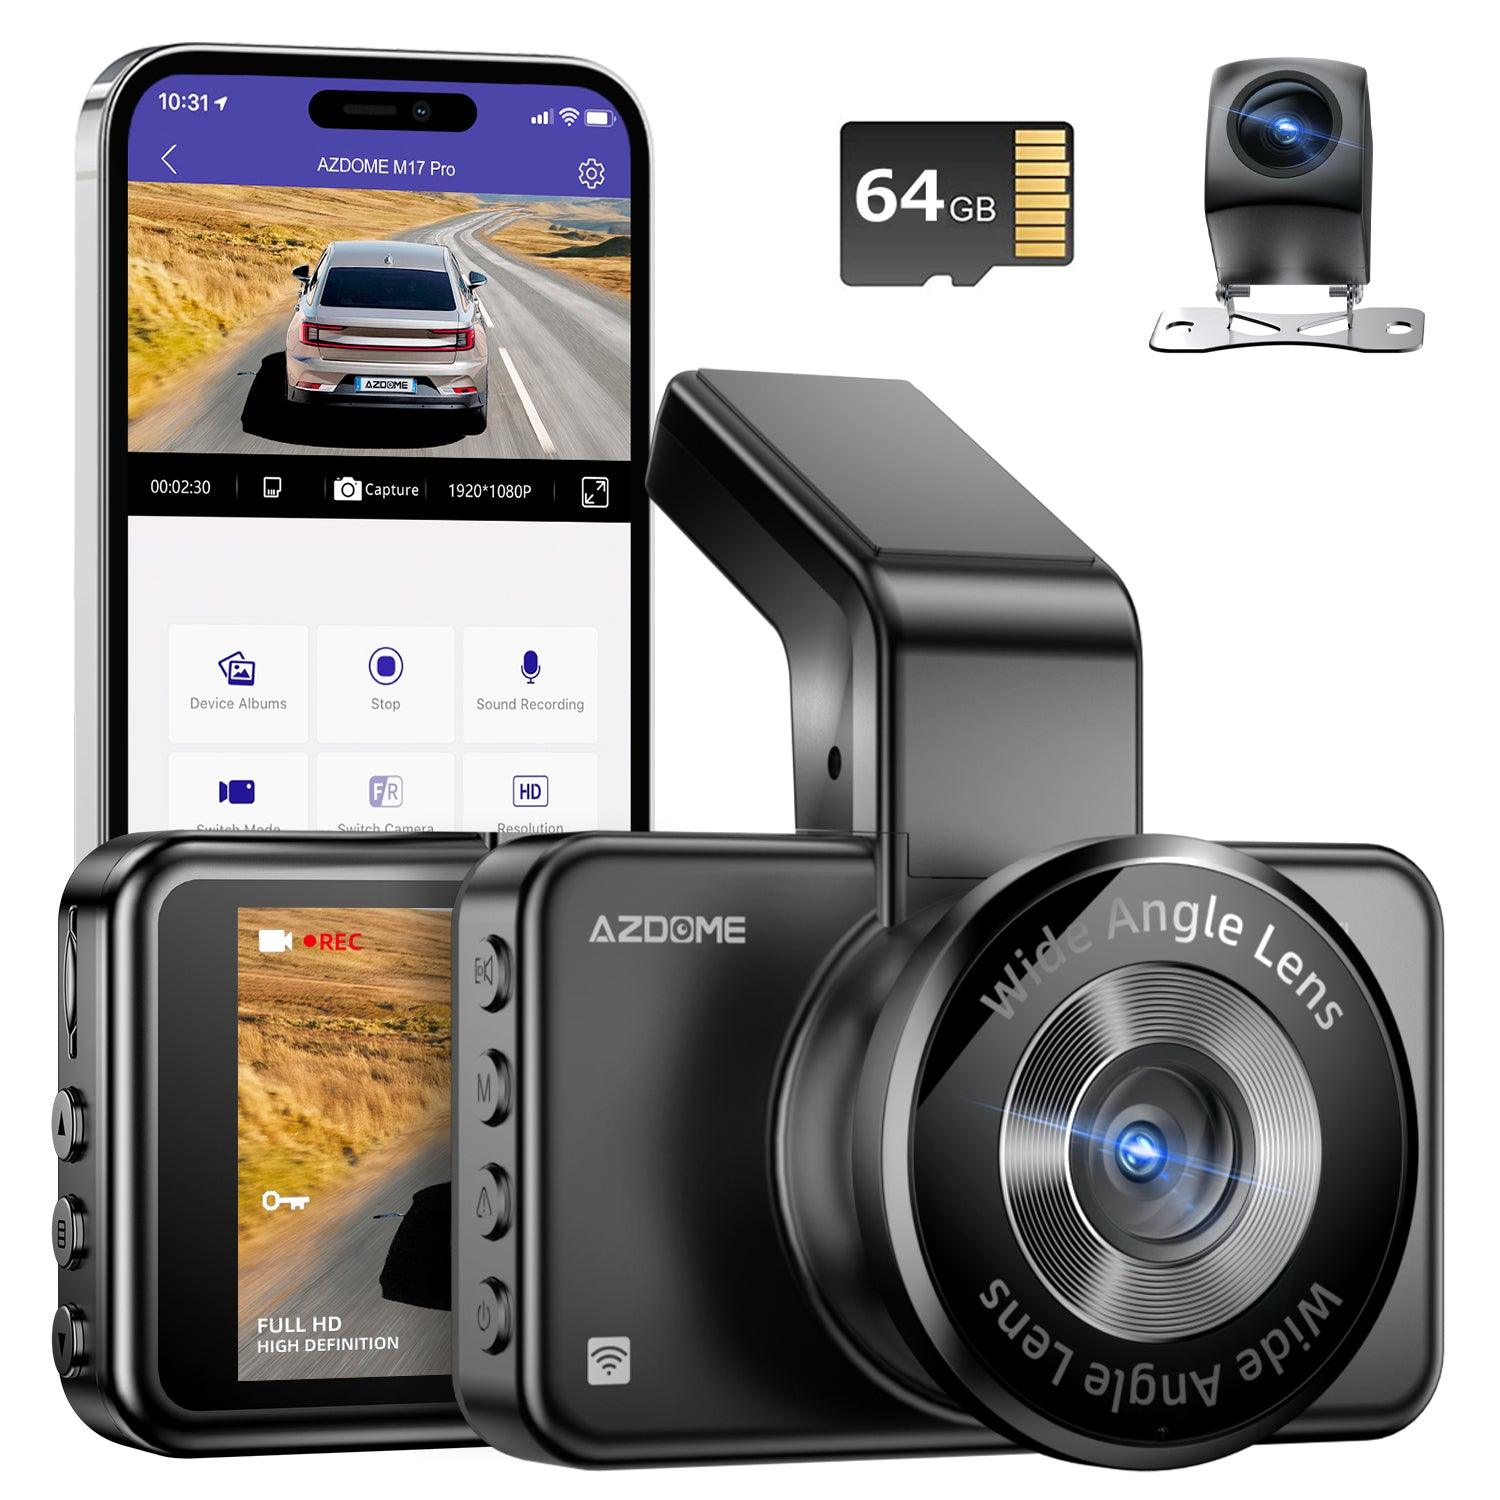
Compact windshield style
drivers trying to tuck the camera near the mirror
Avoid if: you need a large built-in screen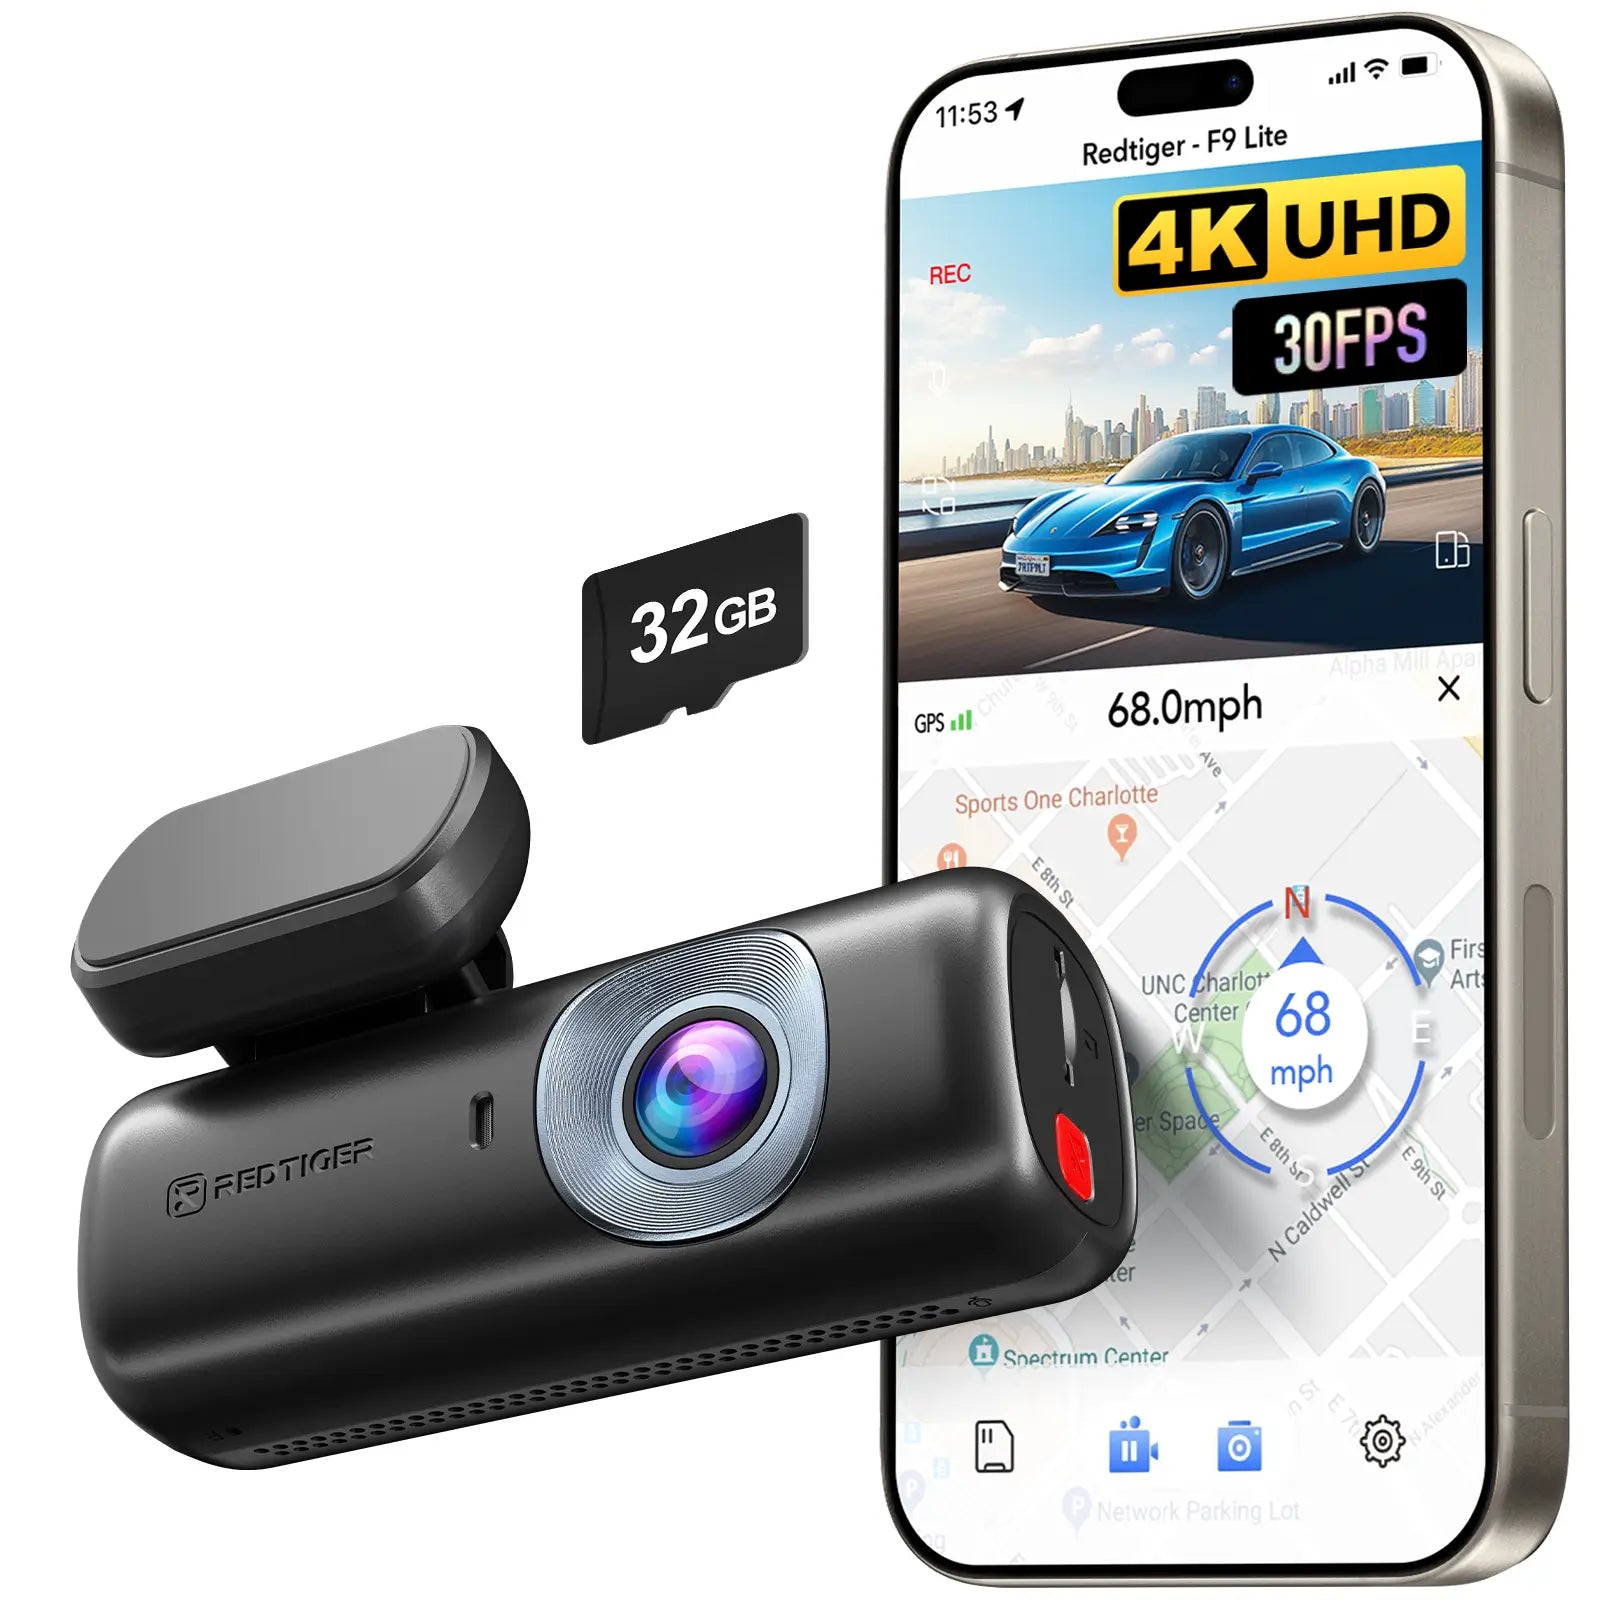
Mini front camera style
drivers prioritizing a smaller visible footprint
Avoid if: you need rear or cabin coverage from the same kit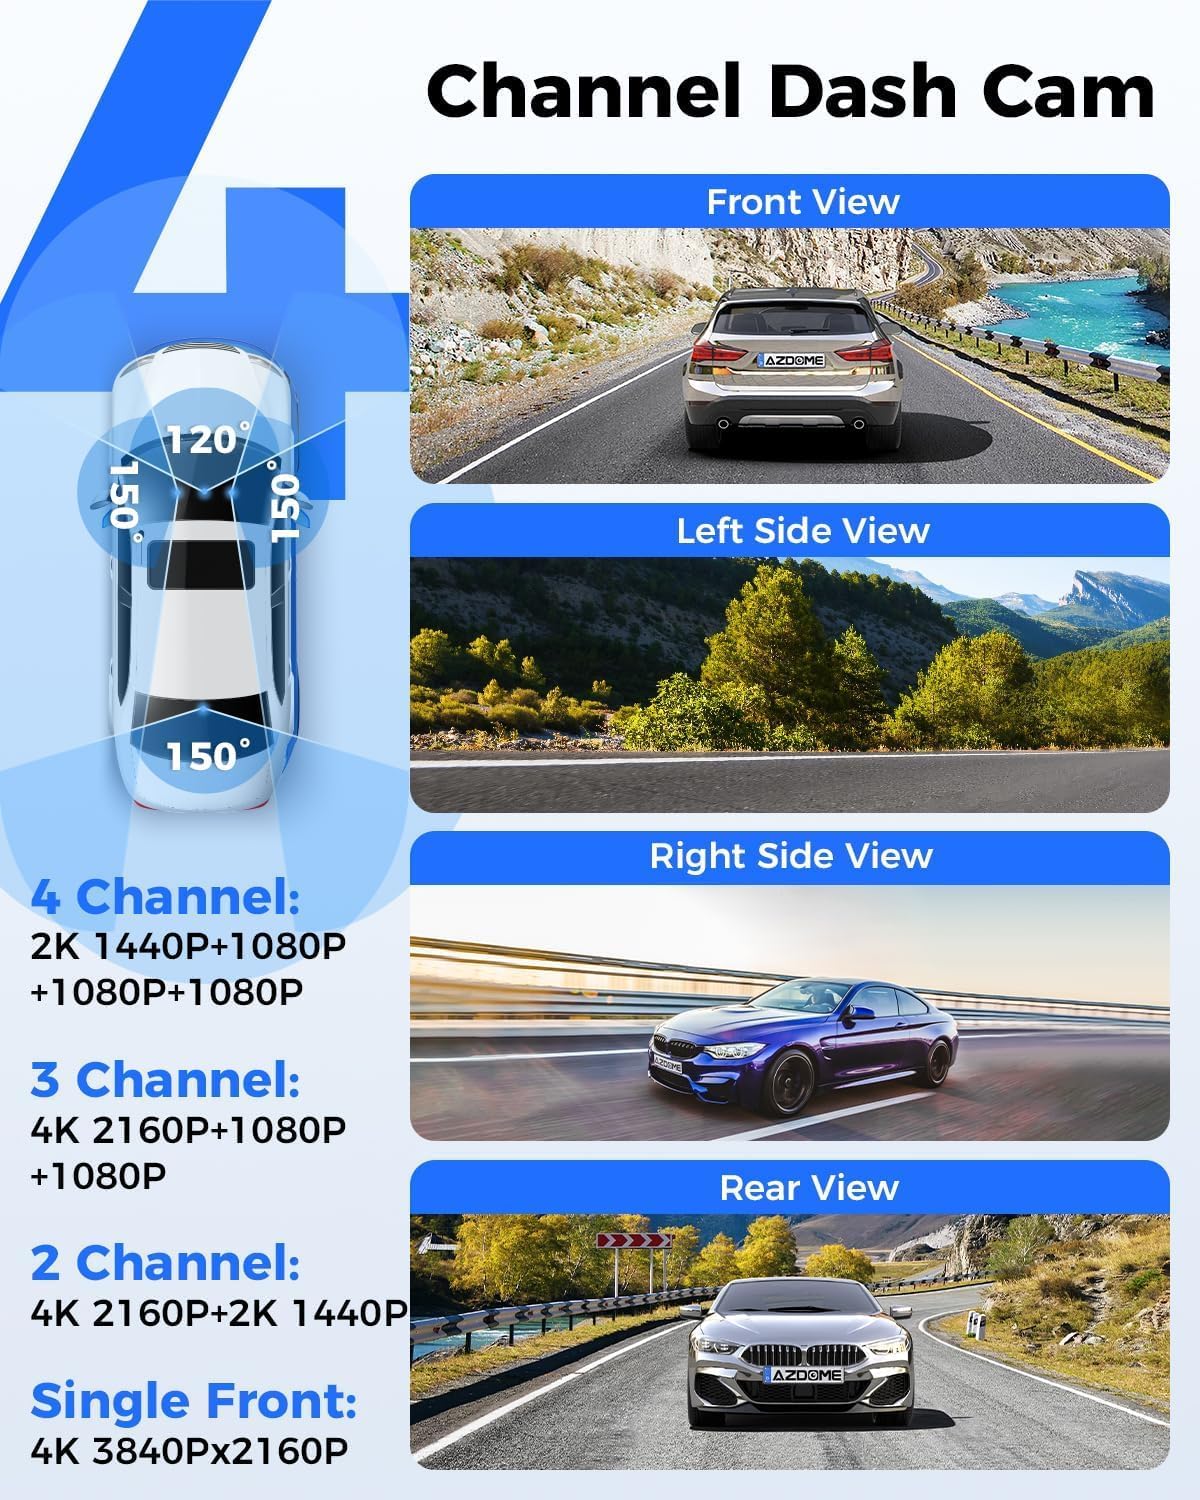
Multi-channel coverage
drivers comparing front, side, and rear coverage ideas
Avoid if: you want the simplest cable routeWhat the Camera Needs to See Before You Choose a Spot
A good dash cam position is not just “somewhere high on the glass.” It has to record the road in a way that helps later.
For road-incident proof, think about four jobs.
1. Show what happened ahead
Front footage is usually the most important view. It can show traffic lights, lane position, braking, road signs, and the movement of vehicles in front of you.
That is why the upper windshield near the mirror is the usual starting point. It gives the camera a higher view of the road without putting the camera directly in your face.
2. Keep the driver’s view clear
If the camera blocks your view, it is in the wrong place.
A dash cam should disappear from your normal driving attention. The rearview mirror already blocks a small part of the windshield, so placing the camera behind or beside that blocked zone often keeps it out of your direct sightline.
If you drive a newer car or EV with a large sensor pod near the mirror, check fit carefully. Factory cameras, rain sensors, lane-keep sensors, and auto-braking sensor housings can crowd the same area. For more on newer cabin fit checks, see these tesla and ev accessory fit checks and this guide to camera placement.
3. Capture context, not just license plates
A wide field of view helps show more lanes and side movement. That can be useful for lane-change disputes or sudden cut-ins.
But wider is not always better for small details. License plates can still be hard to read because of:
- Speed
- Distance
- Angle
- Glare
- Rain
- Night lighting
- Headlight reflections
- Motion blur
Do not choose placement only for plate capture. Choose a position that records the whole event clearly.
4. Make clips easy to save
The best footage is useless if it gets overwritten or you cannot retrieve it.
If the camera is hidden behind the mirror, screen and button access may be harder. Wi-Fi app control can matter more in that position. If the camera has a touchscreen and you expect to use it often, a mirror-style unit or a more reachable screen may be easier.
Behind the Mirror, Lower Corner, Dashboard, or Mirror Cam?
The best placement depends on your car, your local rules, and how much you care about screen access.
Here is the practical way to choose.
Behind the Rearview Mirror Is the First Spot to Test
For most drivers, this is the best starting point.
Mount the lens high on the windshield, near the rearview mirror, and within the wiper-swept area. A slightly passenger-side position often keeps the camera out of the driver’s line of sight while still giving a balanced forward view.
Best fit
- Daily drivers
- Front-only or front/rear dash cams
- Compact wedge, mini, or tube-style cameras
- Drivers who want the camera to stay visually quiet
Avoid if
- The camera hangs below the mirror into your view
- A large factory sensor pod blocks the lens
- Your windshield curvature prevents the mount from sitting flat
- Local rules do not allow that windshield location
Setup or fit risk
Behind-mirror placement can be hard to reach. If the camera relies on a touchscreen, you may find yourself reaching around the mirror. App control is helpful here.
Also check the black dot matrix near the mirror. Suction cups often struggle on textured frit dots, and the dots may interfere with a clean lens view if the camera is placed too high or behind the pattern.
Evidence note
Installation guidance and owner reports consistently point to the mirror area as a low-distraction starting point, but the exact spot depends on sightlines, wiper coverage, laws, and sensor housings.
Slightly Off-Center Can Fix Mirror Reflection Problems
If a centered dash cam appears in your rearview mirror reflection, shift it slightly.
A small offset can keep the camera body out of the reflection zone while keeping a balanced road view. In many cars, moving the camera about 1–2 inches is enough.
Best fit
- Cars where dead-center placement shows in the mirror
- Windshields with a sensor pod in the middle
- Compact cameras that fit into tight mirror-area gaps
Avoid if
- You need to move the camera far to one side
- The camera loses a balanced view of both lanes
- The glass curve prevents the mount from sitting flat
Setup or fit risk
Do not overcorrect. A camera mounted too far to one side can make one side of the road more visible than the other and may miss context during lane changes.
Evidence note
The offset approach is best treated as a small adjustment, not a separate “best” location.
Lower Windshield Corners Help With Legal Risk but Hurt the View
Some states and regions restrict objects on the windshield. In those places, the lower corners may be the safer legal zone.
That does not mean they are the best recording position.
A lower corner can capture more dashboard and hood. It may also make traffic lights, overhead signs, and distant plates harder to see. The camera may also sit closer to glare and reflections from the dashboard.
Best fit
- Drivers in restrictive windshield-obstruction states
- Drivers who want to avoid upper windshield placement
- Small cameras that fit inside allowed size zones
Avoid if
- You want the best forward field of view
- The camera would sit over or near an airbag area
- The lower angle records too much hood
Setup or fit risk
Check the law where you drive. Do not assume one state’s allowed size or location applies everywhere.
Evidence note
Lower-corner mounting can be a practical compromise for legal compliance, but it is usually a compromise in recorded perspective.
Dashboard Mounts Avoid Windshield Adhesive but Add New Risks
Dashboard mounting can make sense for rentals, leased cars, or drivers who want to avoid windshield adhesive entirely.
It also has real downsides.
The camera sits lower, so it may see more hood and less distant road. The dashboard can reflect in the windshield. The mount may also be less stable on textured surfaces.
The biggest warning is airbag safety.
Best fit
- Rental cars
- Leased vehicles
- Drivers avoiding windshield residue
- Areas where windshield attachment is especially risky
Avoid if
- Your dashboard surface is textured or soft
- The camera blocks your view of the road or instruments
- The only available spot is near an airbag
- You drive often into direct sun and glare
Setup or fit risk
Dashboard mounting may look easier, but a clean cable route can still be awkward. You may need to route the cable up, across, and back down to hide it neatly.
Evidence note
Dashboard placement solves one problem—windshield attachment—but can create visibility, glare, and safety problems.
Mirror-Style Dash Cams Make Screen Access Easier
Mirror-style dash cams are different from small windshield cameras. They use the mirror area as the display zone, which can make viewing and adjusting the camera easier.
This style can work well if you want a larger screen and a cleaner central location. It also avoids placing a separate screen lower on the windshield or dashboard.
But check fit before you commit.
Best fit
- Drivers who want a larger display
- Drivers comparing front/rear mirror-style systems
- Vehicles with a stable mirror mount
- Drivers who do not want a small screen hidden behind the mirror
Avoid if
- Your factory mirror already wobbles or sags
- Your mirror housing is integrated or unusual
- You cannot route the rear camera cable cleanly
- Local inspection rules limit mirror modifications
Setup or fit risk
Mirror-style units can add weight to the mirror area. They also often involve rear-camera wiring, so the rear cable path matters as much as the front placement.
Evidence note
Treat mirror-style cameras as a placement category, not an automatic upgrade. Their screen access is useful, but compatibility and vibration checks matter.
Wiring, Heat, and Removal Mistakes to Avoid
A good camera position can still fail if the mount falls, the cable hangs, or the wire crosses an airbag path.
This is where many DIY installs get frustrating.
Route the Cable Sideways, Not Straight Down
Do not let the power cable hang straight down from the camera.
A hanging cable looks messy, pulls on the mount, and can add a constant downward load. Route the cable sideways along the top of the windshield toward the headliner, then toward the A-pillar.
For a broader wiring overview, this power cable routing guide covers similar cabin cable principles.
A cleaner route usually looks like this:
- Mount the camera near the mirror.
- Tuck the cable into the headliner gap.
- Run it toward the A-pillar.
- Route it safely down to power.
- Secure any loose cable near the footwell.
Heat Can Make Weak Mounts Fail
Hot cabins are hard on mounts.
Suction cups can lose grip in high heat, especially on curved glass or textured frit areas. Generic adhesive pads can also soften or creep. Cold weather can be a problem for weak adhesive too.
If you live somewhere hot, look for stronger adhesive systems, a mount designed for heat, or a mechanical bracket where appropriate. Avoid placing the camera where a sunshade traps extra heat against the glass.
Practical heat checks
- Clean the glass before mounting.
- Avoid the dot matrix if the mount cannot grip it.
- Press adhesive firmly and let it cure as instructed.
- Check the mount before long drives.
- Use a safety tether if the mount style allows it.
Electrostatic Film Helps if You May Remove the Camera Later
Adhesive mounts can be stubborn to remove. Some owners report difficult residue removal, and careless removal can risk damage.
Electrostatic film can act as a removable layer between the glass and adhesive pad. It is especially useful if:
- You lease your car
- You expect to reposition the camera
- You are testing placement
- You do not want adhesive residue on the windshield
The tradeoff is that the film can be visible and tricky to install cleanly. Install it on clean glass, in a dust-free space, and push bubbles toward the edge.
Rear Cameras Need Their Own Placement Check
Rear cameras are easy to treat as an afterthought. Do not.
Rear placement has its own problems:
- Defroster lines
- Window tint
- Hatchback liftgate movement
- Cable flex at hinges
- Vibration
- Rear wiper coverage
- Rear glass angle
Avoid sticking adhesive directly over defroster lines. If the rear window is tinted, adhesive removal may pull or damage film. If possible, place the rear camera between defroster lines or use a safer mounting method for your vehicle.
Dash Cam Styles That Fit Each Placement
The products below are examples by mounting style, not a strict ranking. The right choice depends on your windshield, mirror, local laws, cable path, and how you want to access footage.
Before buying, check:
- Mount footprint
- Field of view
- Front/rear/cabin coverage
- Storage support
- Parking mode requirements
- App or screen access
- Rear-camera cable length
- Mirror compatibility, if applicable
- Whether the camera fits your chosen legal and sightline zone
Mirror-Style Options for Screen Access Near the Mirror
Mirror-style models make the most sense when you want the screen in the mirror area instead of a small hidden camera.
Consider these if you like the idea of a larger display and are willing to check mirror fit carefully:
- AZDOME PG17 Max Ultra 4K+4K Dual Mirror Dash Cam
- AZDOME PG17 Pro STARVIS 2 Mirror Dash Cam
- WOLFBOX G900Pro 12MP WiFi Touch Screen Rear View Mirror Dash Cam
Best fit
Drivers who want a mirror-area screen and front/rear-style evidence without placing a separate display lower on the windshield.
Avoid if
Your factory mirror mount already wobbles, your vehicle has an unusual mirror assembly, or you do not want to run a rear camera cable.
Setup or fit risk
Check mirror size, attachment method, vibration, rear-camera routing, and whether the added unit affects your normal mirror view.
Evidence note
The evidence supports mirror-style cameras as a useful placement category, but not a single best mirror camera. Verify exact compatibility before buying.
Mirror-style dash cam examples
compares mirror-area examples by placement fit rather than ranking them AZDOME PG17 Max Ultra
gearnudge.com
- Best if
- drivers comparing a mirror-style setup with front and rear evidence goals
- Avoid if
- your mirror mount is loose or you have not checked rear cable routing
- Evidence
- Product name and listing position support mirror-style comparison; exact fit still needs checking.
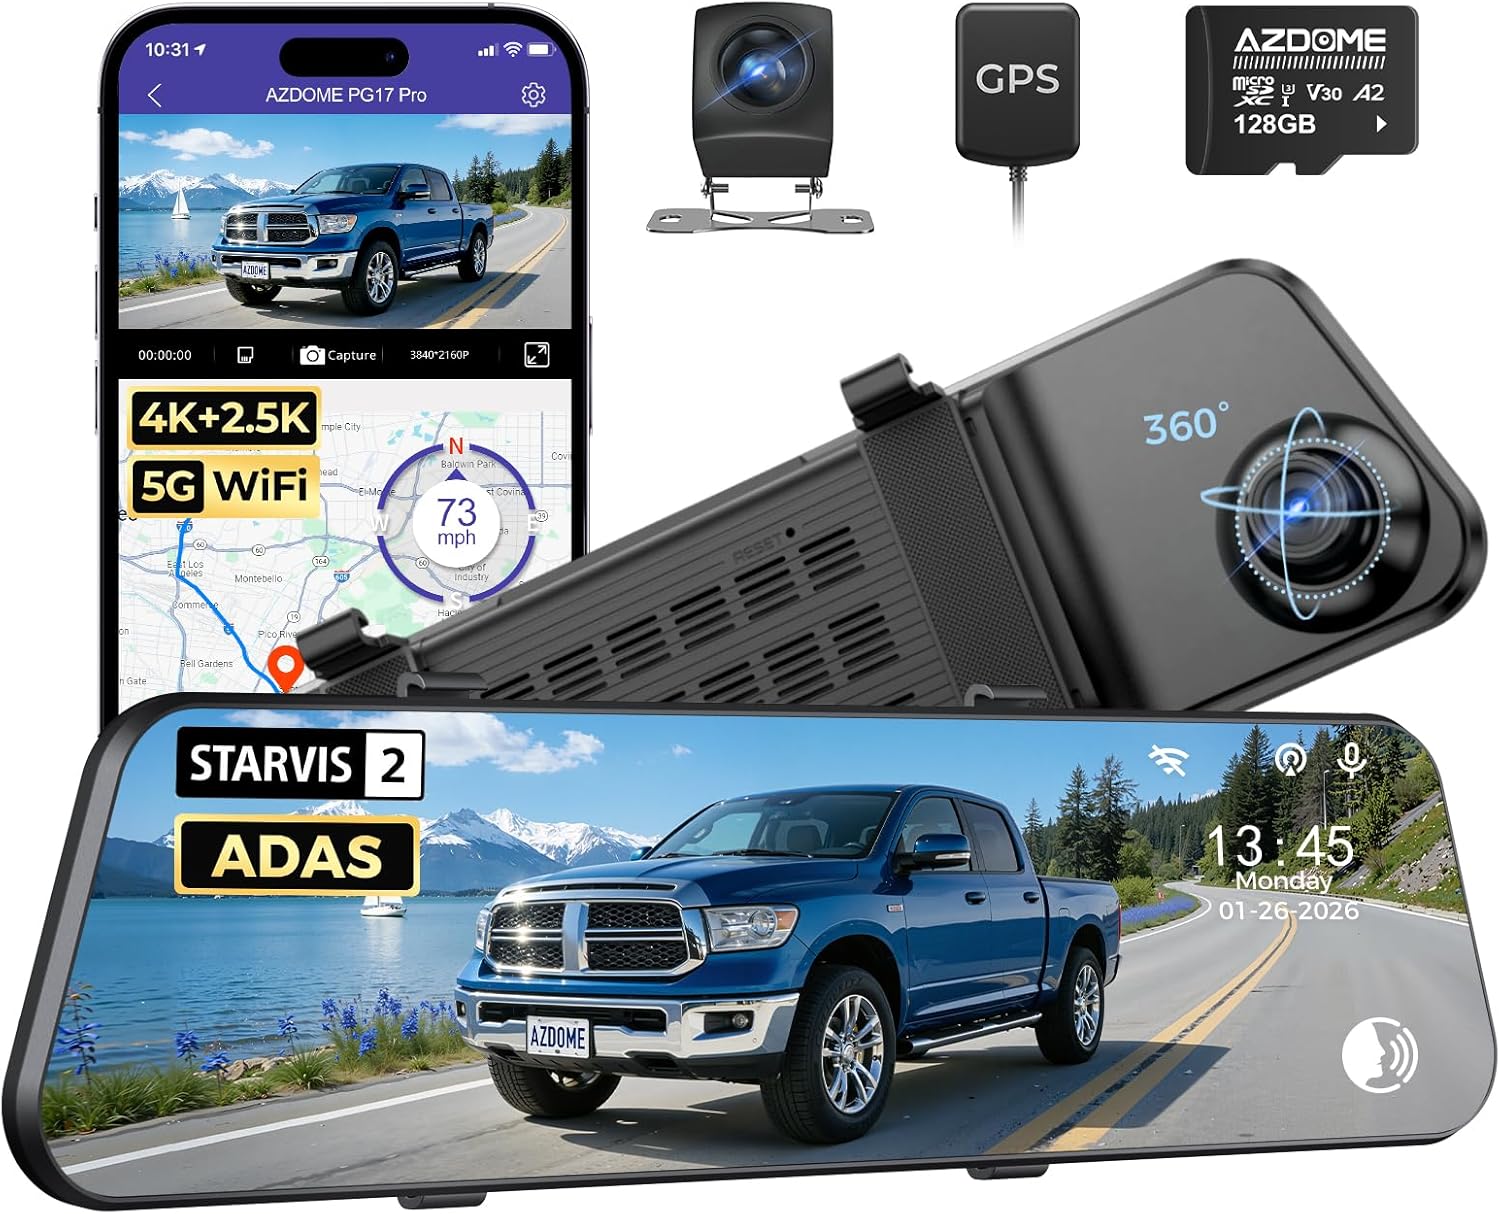
AZDOME PG17 Pro
gearnudge.com
- Best if
- drivers who want a mirror-style screen and are comparing AZDOME options
- Avoid if
- you need a tiny hidden camera behind the mirror
- Evidence
- Use as a mirror-style example, not a proven universal fit.
WOLFBOX G900Pro
gearnudge.com
- Best if
- drivers considering a rearview-mirror-style touchscreen setup
- Avoid if
- your vehicle mirror assembly is nonstandard or prone to vibration
- Evidence
- Useful as a mirror-style comparison point; confirm exact mounting and cable details.
Compact Windshield Cameras for a Cleaner Behind-Mirror Setup
Compact windshield-style cameras are better when you want the device to disappear behind the mirror.
Two examples in this group are:
- AZDOME M17 Pro Stealth Dual Dash Cam
- REDTIGER F9 Lite 4K ADAS Built-in WiFi GPS Night Vision Front Mini Dash Cam
Best fit
Drivers who want the camera high and quiet, with less screen distraction.
Avoid if
You want a large built-in screen that is easy to tap from the driver’s seat.
Setup or fit risk
Compact cameras still need a flat mounting area, clean cable routing, and a lens position that avoids sensor pods and the dot matrix.
Evidence note
Smaller camera bodies generally make behind-mirror placement easier, but exact mount size and windshield clearance must be checked for your vehicle.
Compact windshield-style examples
shows smaller windshield-oriented examples for behind-mirror placement decisions AZDOME M17 Pro
gearnudge.com
- Best if
- drivers looking for a stealthier windshield-style front/rear setup
- Avoid if
- you need a large screen at mirror height
- Evidence
- Product naming supports a compact/stealth comparison; verify mount footprint before buying.
REDTIGER F9 Lite
gearnudge.com
- Best if
- drivers prioritizing a smaller front-camera footprint
- Avoid if
- you need rear or cabin coverage from this product choice
- Evidence
- Use as a mini front-camera example; confirm exact mount and viewing angle.
Front/Rear Dual Options for Road and Rear-End Context
Front footage helps with what happened ahead. Rear footage helps with tailgating, rear-end impacts, and lane-change context behind you.
Two examples in this group are:
- AZDOME M01 Pro 3K WiFi Dual Dash Cam
- Redtiger ViewClear-70 4K Dual HDR 5.8Ghz WiFi-6 Super Night Vision Dual Dash Cam
Best fit
Drivers who want front and rear road context without moving to a full cabin or side-camera system.
Avoid if
You do not want to route a rear camera cable or deal with rear window mounting.
Setup or fit risk
The rear camera placement can be harder than the front. Check defroster lines, tint, liftgate cable movement, and rear wiper coverage.
Evidence note
Dual-camera systems can improve context, but they also increase wiring complexity.
Front/rear dual-camera examples
compares dual-camera examples for drivers focused on front and rear road incidents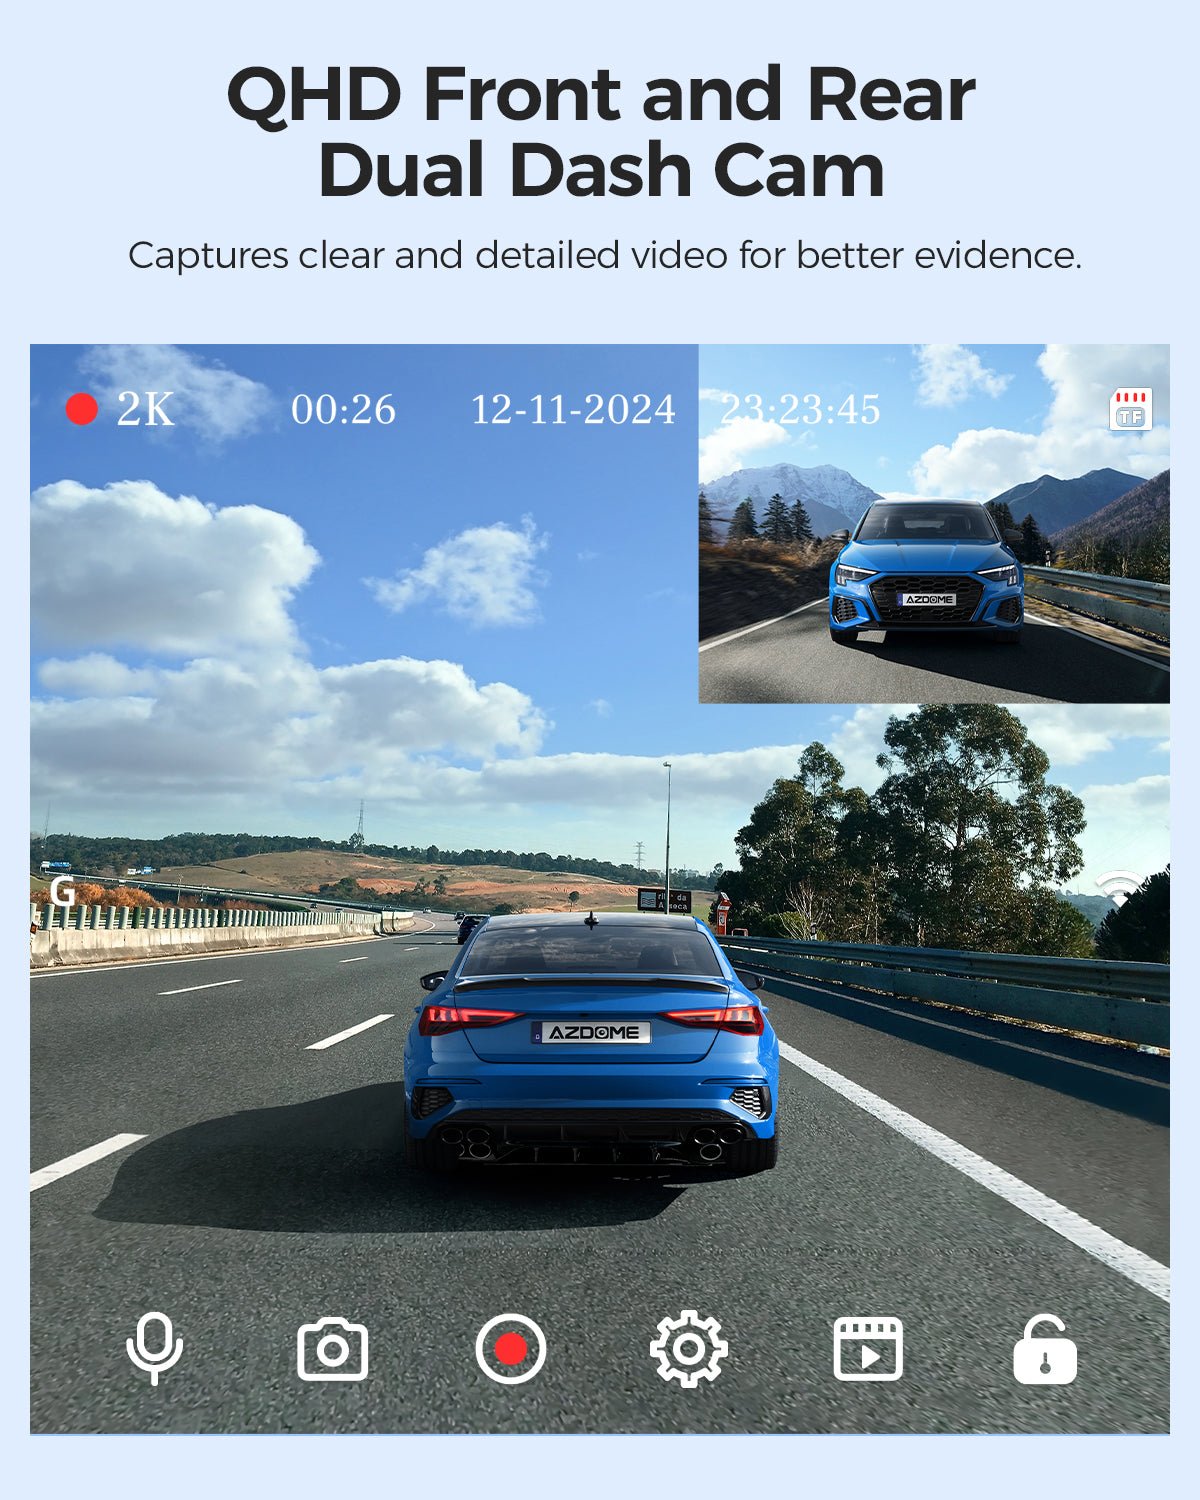
AZDOME M01 Pro
gearnudge.com
- Best if
- drivers comparing a front/rear setup with an onboard screen
- Avoid if
- you want the smallest possible windshield footprint
- Evidence
- Use as a dual dash cam example; check mount size and rear cable path.
Redtiger ViewClear-70
gearnudge.com
- Best if
- drivers comparing dual front/rear road-incident coverage
- Avoid if
- you do not want rear-window installation work
- Evidence
- Use as a dual-camera example; confirm rear-camera mounting details.
Cabin-Coverage Options for Rideshare and Interior Context
Cabin-facing cameras can help if you drive rideshare, carry passengers often, or want interior context.
Examples in this group are:
- AZDOME M550 Pro 2-Channel 4K Dash Cam
- AZDOME M550 Max 3-Channel 4K Dash Cam
- REDTIGER F17 Elite 4K 3 Channel Dash Cam
Best fit
Drivers who want road footage plus cabin or passenger-area context.
Avoid if
You only need front road evidence and want the simplest hidden setup.
Setup or fit risk
Interior lenses make placement more sensitive. The front camera must see the road, while the cabin lens must not be blocked by the mirror, visors, or roofline. Privacy expectations also matter if passengers are recorded.
Evidence note
Cabin coverage can be useful for specific driving situations, but it is not necessary for every driver.
Cabin and 3-channel examples
groups cabin-oriented examples by the extra placement checks they create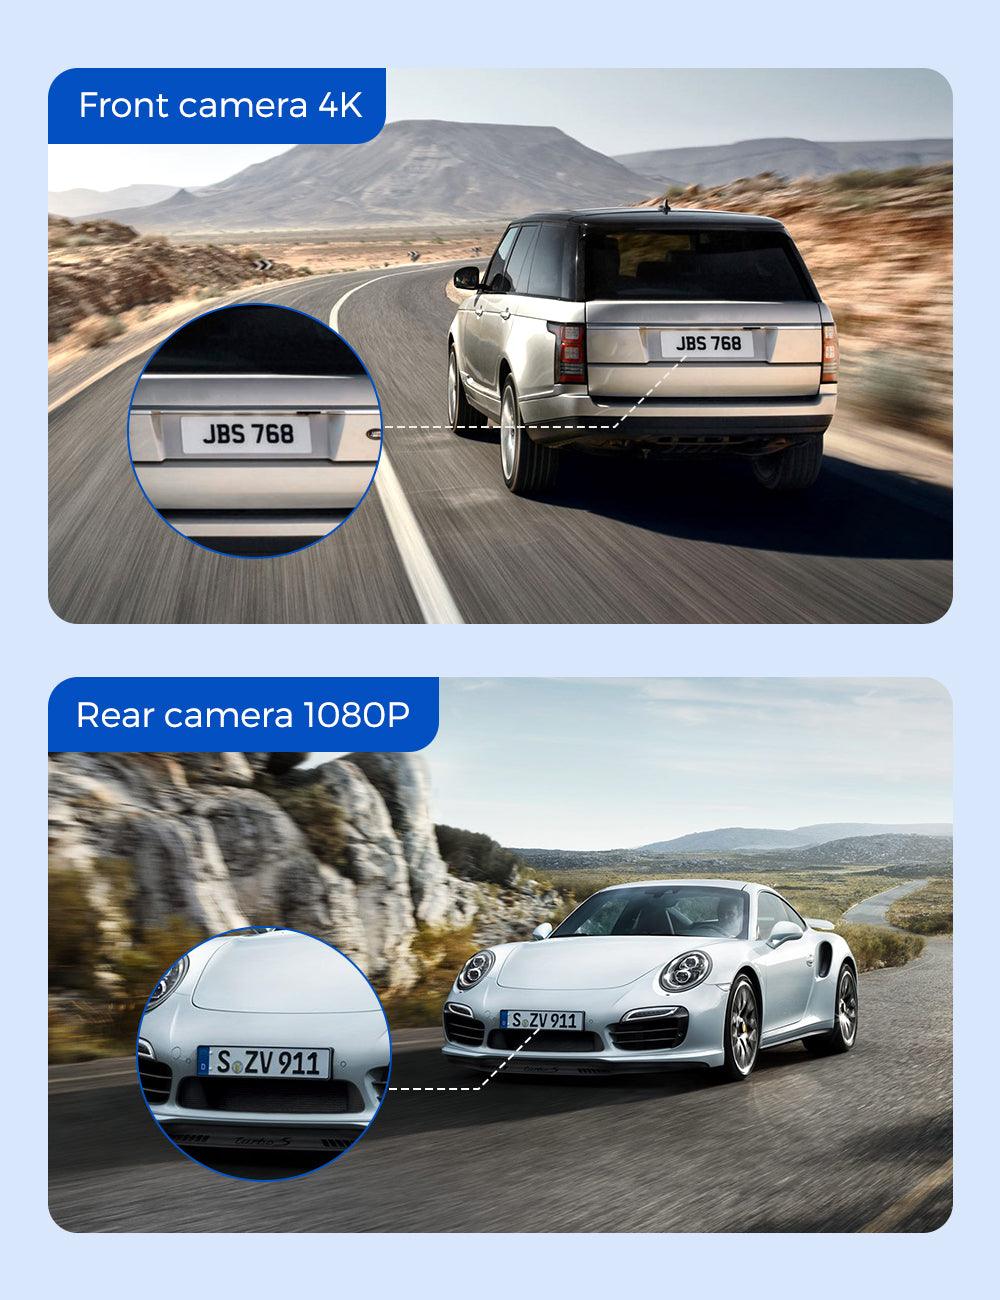
AZDOME M550 Pro
gearnudge.com
- Best if
- drivers considering front plus cabin-style coverage
- Avoid if
- you want a simple front-only hidden camera
- Evidence
- Use as a front/cabin example; verify lens layout and mounting position.
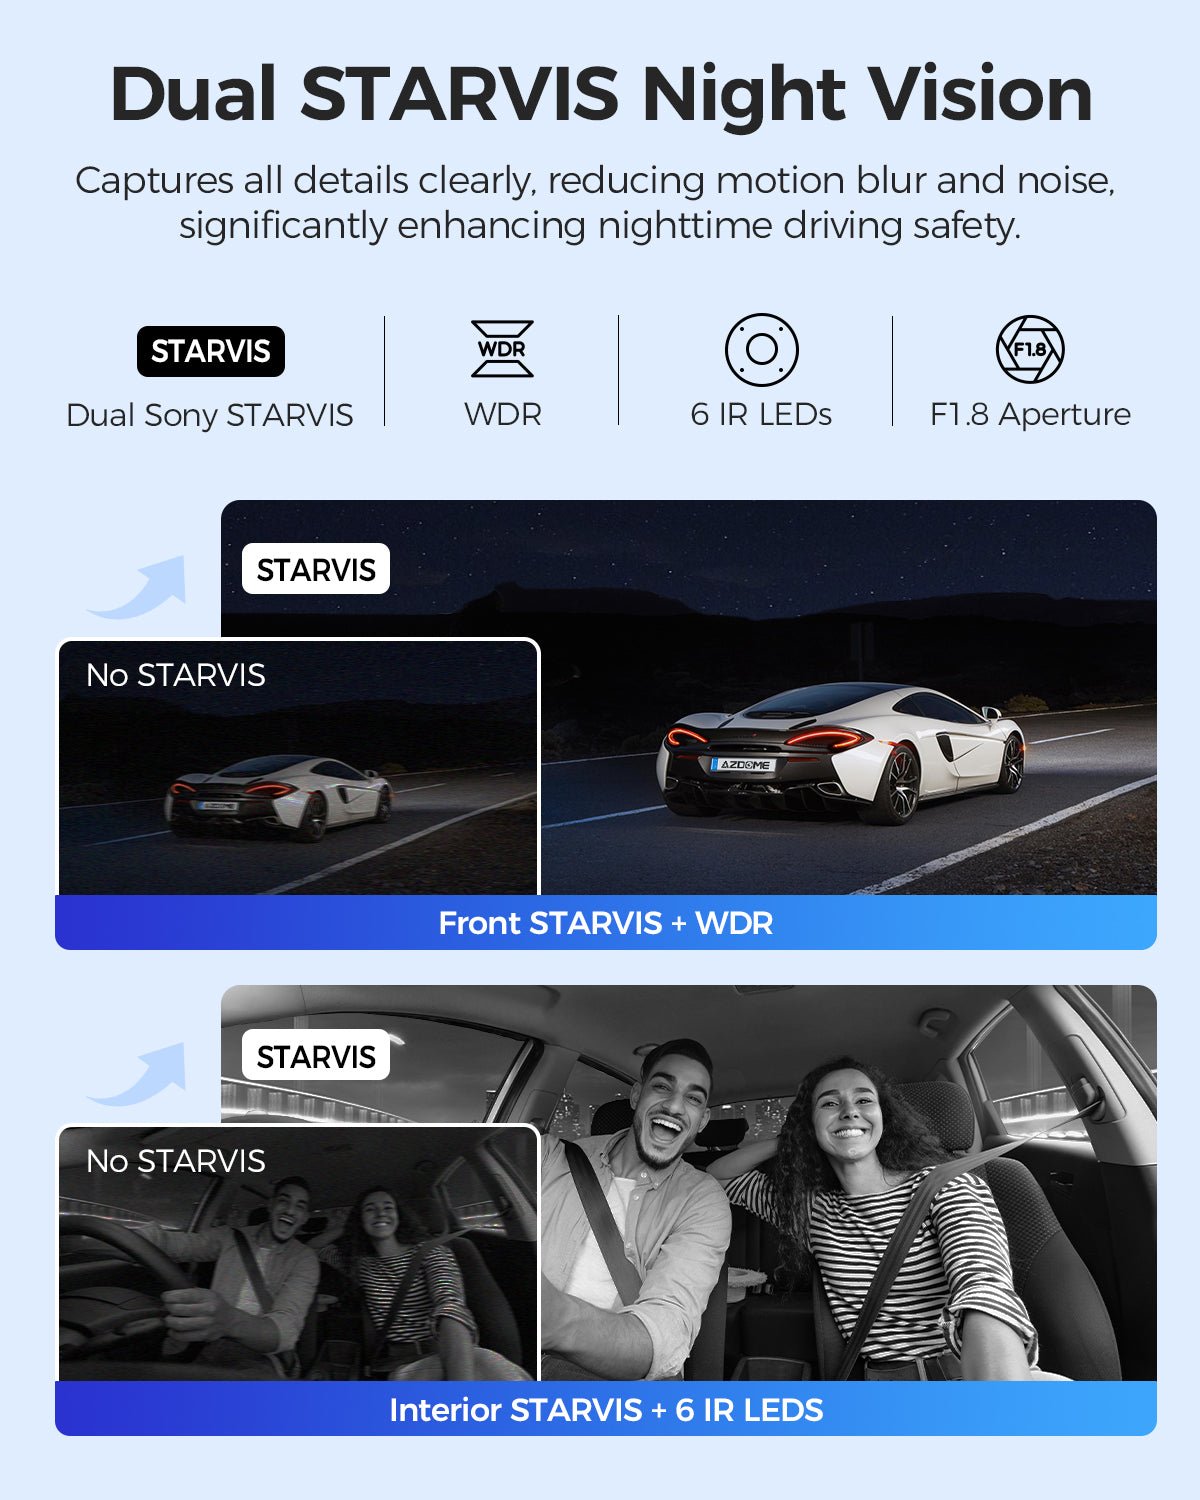
AZDOME M550 Max
gearnudge.com
- Best if
- drivers comparing front, cabin, and rear coverage
- Avoid if
- you want minimal wiring
- Evidence
- Use as a 3-channel example; rear and cabin placement both need checking.
REDTIGER F17 Elite
gearnudge.com
- Best if
- drivers comparing 3-channel coverage for road and cabin context
- Avoid if
- you do not need cabin recording
- Evidence
- Use as a 3-channel example; confirm fit, storage, and cable path.
Multi-Side Coverage Options Need the Most Planning
Multi-side systems can help if you want more than front and rear context. They can also make installation more involved.
Examples in this group are:
- AZDOME M350 3/4-Channel Dash Cam
- AZDOME S40 (M660) 4-Channel 4K Dash Cam
Best fit
Drivers who want front, side, and rear coverage ideas for broader incident context.
Avoid if
You want a fast, simple install or only need basic front evidence.
Setup or fit risk
More cameras mean more wire, more mounting points, and more chances for poor placement. Side views may require careful positioning to avoid blocked or distorted angles.
Evidence note
Multi-channel systems are best considered after you know where every camera and cable will go.
Multi-channel coverage examples
shows multi-side examples where placement and wiring complexity are the main decision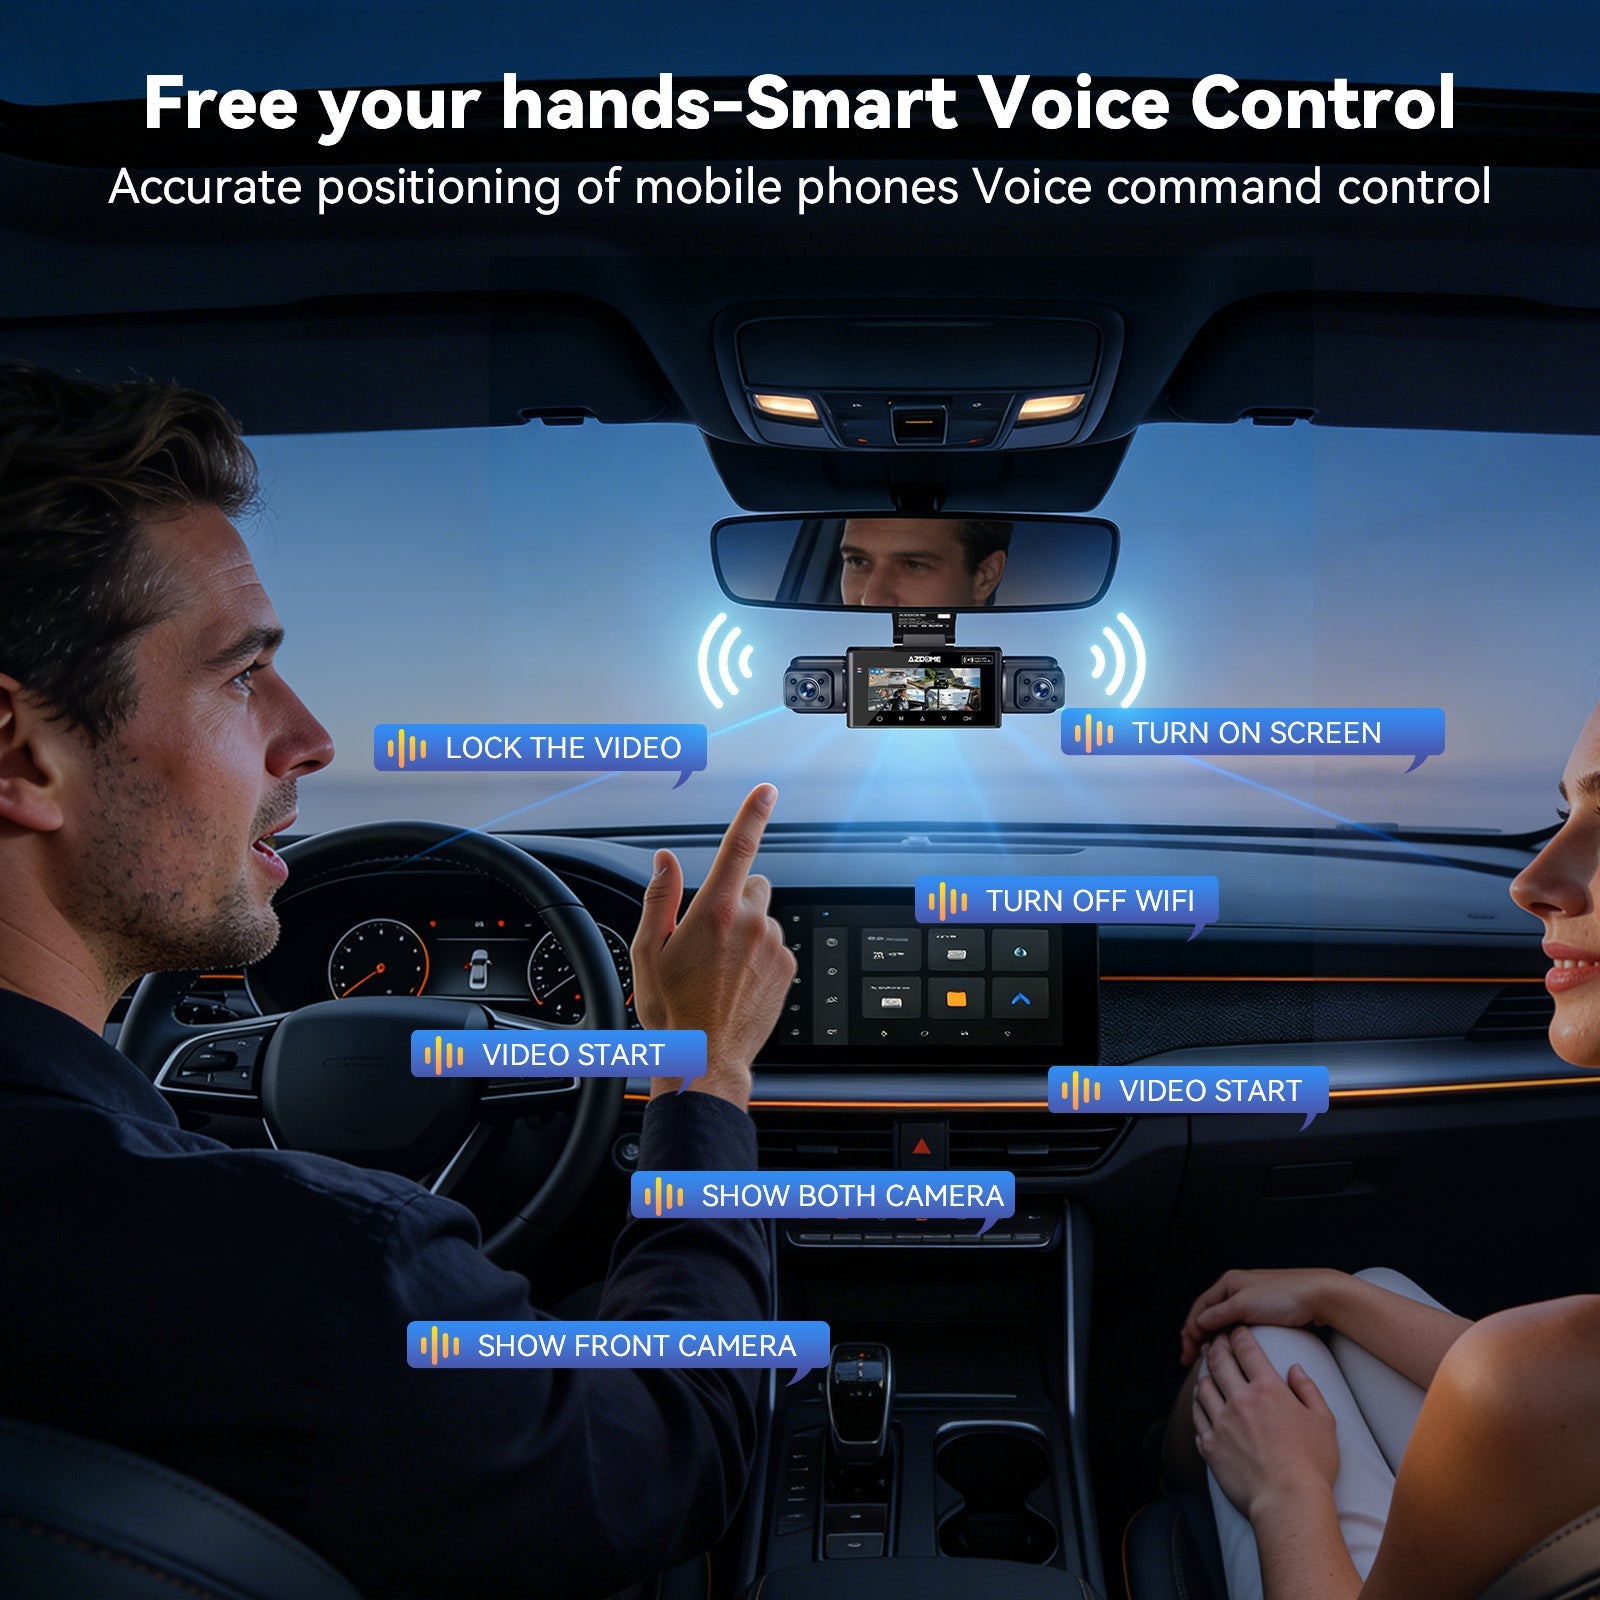
AZDOME M350
gearnudge.com
- Best if
- drivers comparing broader front, side, and rear coverage
- Avoid if
- you want a simple one-camera install
- Evidence
- Use as a multi-channel example; confirm camera count, cable paths, and mounting points.
AZDOME S40 (M660)
gearnudge.com
- Best if
- drivers considering a 4-channel security-style setup
- Avoid if
- you do not want multiple camera placements and cable runs
- Evidence
- Use as a 4-channel example; verify installation complexity before buying.
When Not to Use a Windshield Mount
A windshield mount is not always the right move.
Skip or delay windshield mounting if any of these are true:
- The camera blocks your forward view.
- The camera sits outside the area your wipers clean.
- Local obstruction rules make the spot risky.
- A rain sensor or ADAS housing blocks the lens.
- The glass curve prevents the adhesive from sitting flat.
- The mount would sit on the dot matrix and cannot grip well.
- You need to stick adhesive directly to tint.
- You would have to route cable across an airbag path.
- Heat has already caused suction cups or adhesive to fail in your car.
If you are also placing screens, mounts, or other accessories, think about sightlines as one system. These same principles apply to screen placement and add-on screen placement.
Common Questions Before You Stick the Mount
Dash Cam Placement FAQ
Is behind the rearview mirror always best?
No. It is usually the first spot to test, but sensor pods, windshield laws, mirror reflection, and driver sightlines can make another position better.
Can a dash cam go in the lower windshield corner?
Yes, in some places that may be the safer legal zone. The tradeoff is a lower viewing angle that may capture more hood and less distant road context.
Are suction mounts safe in hot weather?
They can work, but heat, curved glass, aging rubber, and textured frit areas can make them fail. Check the mount often and consider stronger adhesive or a mechanical option in hot climates.
Will a wide field of view always capture plates?
No. A wide view captures more context, but plate readability still depends on speed, angle, glare, distance, and night lighting.
Where should rear camera wires go?
Route them safely along trim and headliner paths, away from airbags and moving hinge points. For hatchbacks or SUVs, leave enough service loop at the liftgate so the cable is not strained.
Should I use a mirror-style dash cam instead of a small windshield camera?
Choose mirror-style if screen access and a mirror-area display matter to you. Choose a compact windshield camera if you want the camera to stay hidden and low-distraction.
Bottom Line
Start with the position that records the road clearly and stays out of your sightline: behind the rearview mirror, slightly passenger-side, inside the wiper-swept area.
Then adjust for your car:
- Use a small offset if the camera appears in the mirror reflection.
- Use a lower corner if local rules make upper windshield mounting risky.
- Use a dashboard mount only if it avoids airbags and glare.
- Use a mirror-style camera if screen access matters more than hiding a tiny unit.
- Plan cable routing before you stick the mount.
The right windshield placement is the one you stop noticing while driving—and the one that still gives you usable footage when something happens.
AZDOME PG17 Max Ultra 4K+4K Dual Mirror Dash Cam | STARVIS 2 Night Vision & ADAS
gearnudge.com
- Best for
- recommended option from article product list
- Avoid if
- You need confirmed live price or guaranteed fit from this page.
- Evidence
- Listing and source evidence
AZDOME PG17 Pro STARVIS 2 Mirror Dash Cam | 4K + 2.5K Dual HDR | 12\" Touchscreen ADAS
gearnudge.com
- Best for
- recommended option from article product list
- Avoid if
- You need confirmed live price or guaranteed fit from this page.
- Evidence
- Listing and source evidence
All Products Covered
Use this as the complete product list for comparison.
References
Sources used while preparing this guide.
Videos
Official sources
- Rexing V1P Pro Support Pagerexingusa.com
- Vantrue N4 German Store Pagevantrue.com
- azdomevip.com (official)azdomevip.com
- blackvue.com (official)blackvue.com
- garmin.com (official)garmin.com
- thinkware.com (official)thinkware.com
- thinkware.com.au (official)thinkware.com.au
- viofo.com (official)viofo.com
- viofo.com (official)viofo.com
- wolfbox.com (official)wolfbox.com
User reports
- Heat Tolerance - Blackvue vs. Viofo vs. Thinkware — DashCamTalkdashcamtalk.com
- Installed a dual-channel dashcam in Tata Punch — Team-BHPteam-bhp.com
- To remove or not to remove the dashcam in hot weather — DashCamTalkdashcamtalk.com
- dashcamtalk.com (forum)dashcamtalk.com
- dashcamtalk.com (forum)dashcamtalk.com