Quick answer
Prices in this guide are vendor listings as of 2026-08-09 and can change, so confirm the current price on the seller page before you buy.
You’re under the dash with a test light, realizing the factory dimmer wire can’t carry the current your new light bar needs — that’s the moment most people learn why a relay kit matters.
If you want a reliable, low-cost setup, look for a kit that includes all three essentials: a relay, a fuse, and a switch.
- Top budget pick: The Nilight NI-WA06 is a highly rated starter kit. It costs around $10.79 and includes a 16 AWG harness, a relay, a blade fuse, and an illuminated rocker switch.
- Top store-brand pick: The Harbor Freight ROADSHOCK kit is a heavy-duty option for $29.99. It features a 40 A relay, a 30 A fuse, and a water-resistant quick connector, capable of handling up to 200 W.
- What to look for: Buying guides frequently rank Nilight harnesses at the top because they provide the necessary relay and blade-fuse protection alongside illuminated switches.
Who this is for (and when to skip)
You need a relay-and-fuse harness if you are adding any auxiliary light bar to your vehicle.
Your factory dash circuits are not designed to carry the heavy electrical load required by high-power lights. If you try to power a light bar directly from your dashboard or dimmer circuit, you risk overloading the existing wiring.
A relay solves this by acting as a bridge. It allows a low-current control circuit (like your small dash switch) to safely trigger a high-current load (the light bar).
Be careful when shopping on sites like Amazon. Some very cheap “brandless” kits might ship without a relay. If the kit doesn’t include a relay and protected wiring, you should consider upgrading to a better harness before you start.
Switch placement that fits your vehicle
Finding a place to put your switch can be a headache. Many owners find that generic switch-panel mounts don’t perfectly fit their specific truck models. This often leads to people having to build custom metal brackets just to get the panel to stay put.
Before you start cutting or drilling, consider these common placement strategies:
- OEM Blank Slots: This is the cleanest method. Many vehicles have factory “blank” slots in the dash. Using an OEM-style switch that snaps into these existing slots keeps your interior looking professional and factory-made.
- The A-Pillar: If your dashboard is too crowded, moving the switches to the A-pillar (the post between your windshield and side window) is a popular alternative.
- The Sunglass Compartment: Some people try to hide panels here, but be warned. Once you upgrade to a larger multi-button panel, the compartment often becomes too small to close.
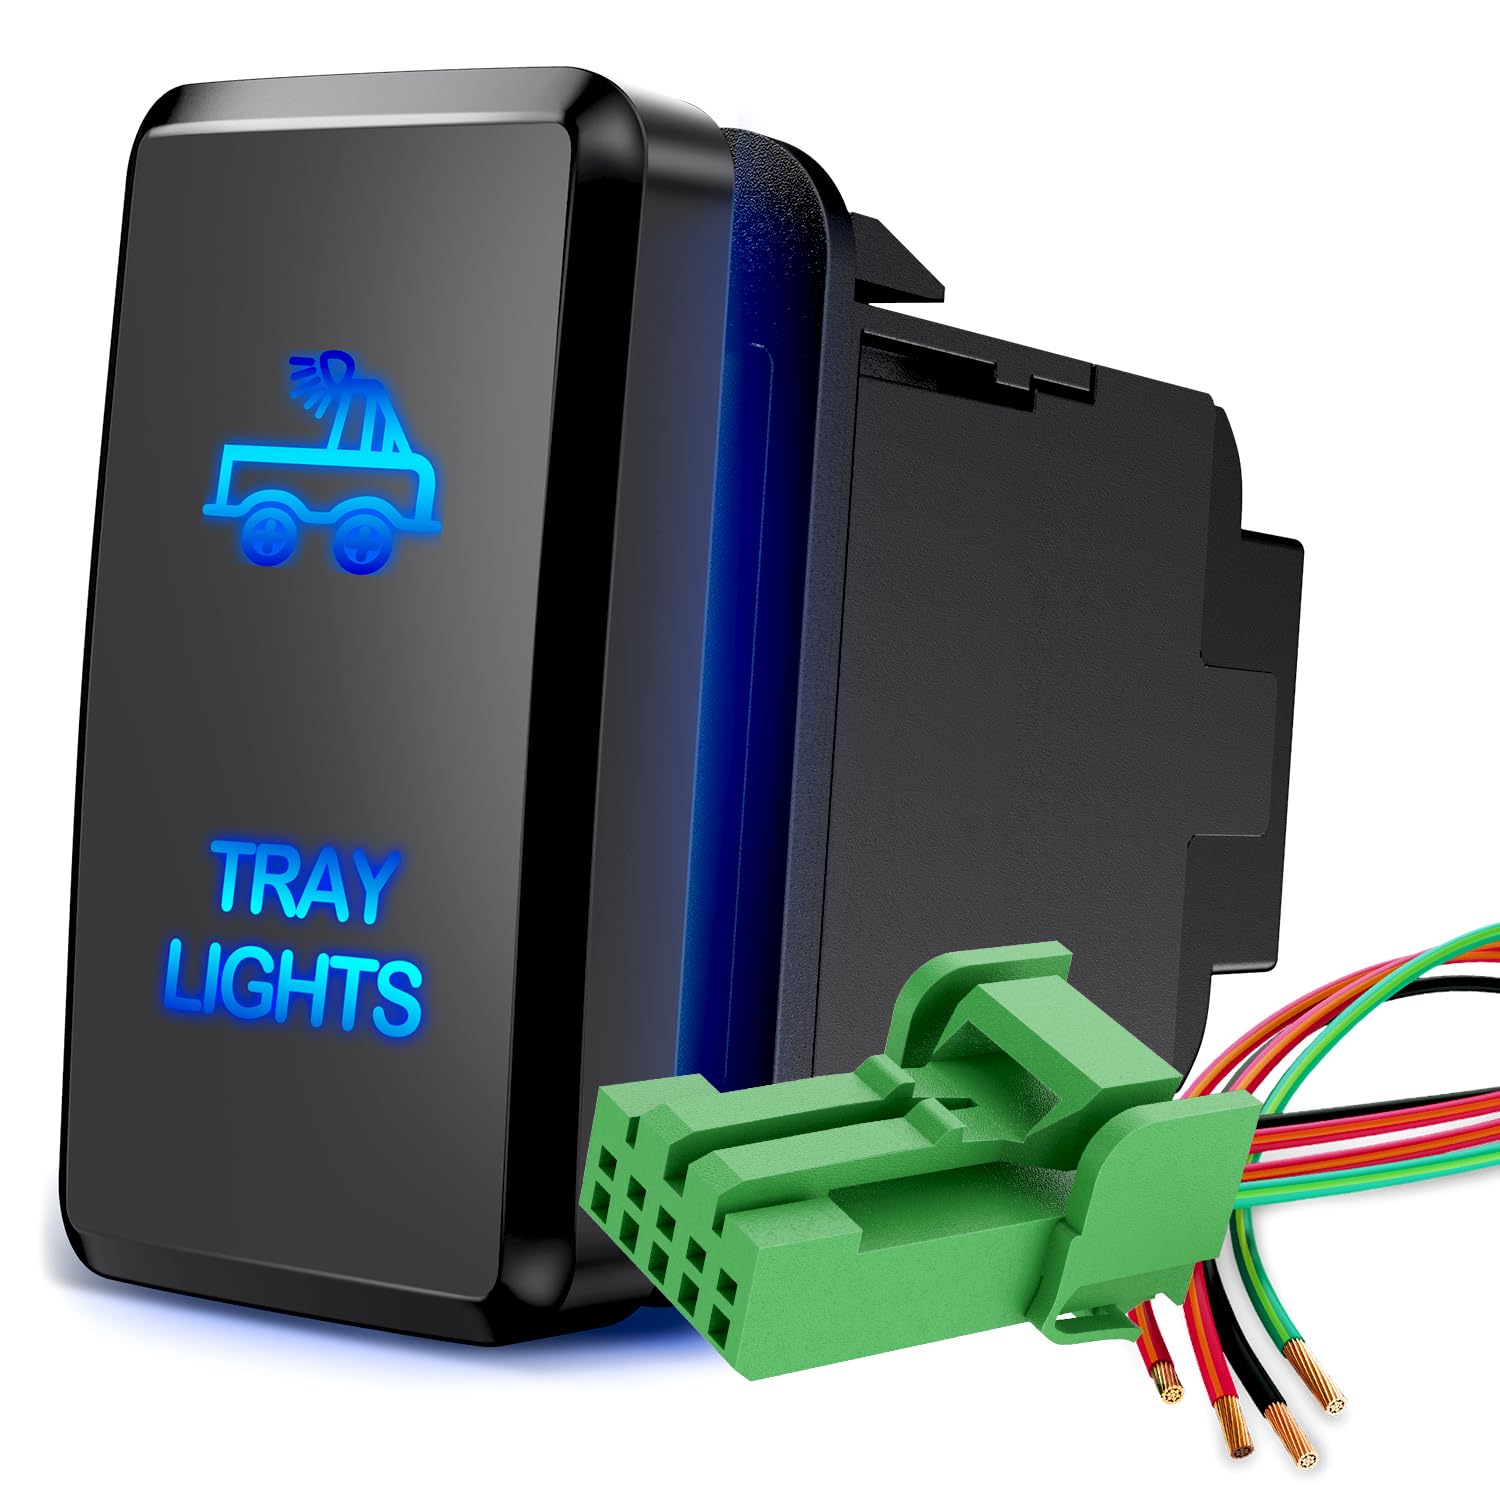
Tray Lights Push Button Switch 12V ON Off Switches with Connector Wire Kit 1.54 Inch x 0.83 Inch Replacement for Toyota FJ Cruiser Fortuner Ta coma Highlander Tundra 4Runner Prado Land Cruiser
gearnudge.com
- Best for
- Replacement switches can help match factory looks.
- Avoid if
- You need confirmed live price or guaranteed fit from this page.
- Evidence
- Listing and source evidence
Harness and switch-kit options
Three main kit tiers exist, but every one of them lives or dies by the same three parts: a relay, a fuse, and a switch.
- Ultra-budget Amazon kits: Brands like Nilight dominate this space. They are popular for bundling LED bars with 5-pin rocker-switch harnesses. While the harnesses are generally considered adequate, some users have noted that the switches themselves can feel a bit cheap or have loose contacts.
- Store-brand kits: The Harbor Freight ROADSHOCK kit is a strong middle-ground option. At $29.99, it offers a high-capacity 40 A relay and a water-resistant connector.
- Specialty universal harnesses: Brands like Extreme LED offer kits ranging from $29.99 for a single light to $39.99 for a four-light setup. These are reliable, dedicated options for off-road lighting.
Wiring basics to verify before purchase
Before you hit “buy,” make sure the harness meets these technical requirements to ensure your lights work and your vehicle stays safe.
- Relay Functionality: Ensure the relay can handle the load. A standard relay uses a very small amount of power (under 200 mA) to trigger the “coil,” while the contacts handle the heavy lifting (30–40 A).
- Wire Gauge (Thickness): The thickness of the wire must match the power it carries. A good rule of thumb is that your ground wire should be as thick as, or thicker than, your power wire. For example, if you need 25 A, use 14 AWG wire; for 40 A, use 12 AWG.
- Keyed Ignition: You should wire your switch to an accessory or keyed ignition circuit. This ensures the lights turn off when you turn off the car. The light itself should be fed power directly from the battery.
- The “Big Three”: A complete, quality harness must have a relay, an inline blade fuse, and an illuminated 3-pin rocker switch rated for at least 5,000 presses.
Always verify your light bar’s specific power draw against the wire gauge in your harness to prevent overheating.
Owner-reported wiring mistakes to avoid
Learning from other people’s mistakes can save you a trip to the mechanic.
- The Fuse Tap Struggle: Many owners report that the hardest part of the install is finding the right fuse tap. You need a circuit that is “ignition-on/off”—meaning it provides power when the key is turned but dies when the key is removed.
- Accidental Shorts: Be extremely careful during switch installation. It is surprisingly easy to let wires touch accidentally, which can cause smoke and fried switches.
- Channel Confusion: If you are using a multi-gang panel (a panel with many switches), don’t guess the order. Some manufacturers recommend wiring in descending order of current draw.
- The Dimmer Mistake: As mentioned before, never try to tap into your headlight dimmer circuit. It simply cannot handle the current.
- DRL Complexity: If your light bar has Daytime Running Lights (DRL), the wiring is more complex than a standard “plug and play” setup. You may need extra relays or separate switches to manage the different light modes.
What this guide is based on
This information is compiled from archived owner forum posts, retailer product listings, and buying-guide snapshots. Please note that prices and availability are snapshots in time.
Specific data points used:
- Nilight NI-WA06 pricing and ratings sourced from Amazon.
- Harbor Freight ROADSHOCK specs and reviews sourced from the retailer page.
- General kit rankings and brand trends sourced from March and August 2026 buying guides.
FAQ
Which fuse tap should I use for ignition-on/off?
This is often the hardest part. Most owners find it through trial and error, searching for a circuit in the fuse box that turns off when the vehicle is powered down.
What is the correct channel order on multi-gang panels?
Some experts recommend wiring your loads in descending order of current draw (highest power first), though owners often debate the necessity of this.
Is a relay really necessary?
Yes. Your factory dash wiring is [not built to carry the high current required by an LED light bar](/car-lighting/led-wiring-terms-explained/). The relay acts as the safe middleman.
Should I use keyed ignition or an always-hot connection?
Keyed/accessory ignition is the recommended pattern. This prevents your lights from accidentally draining your battery while the vehicle is parked.
Where is the best place to mount my switch?
Always test-fit your panel before cutting any holes. Using factory OEM blank slots is the preferred method for a clean, professional look.